$ USD
For tax reporting purposes, purchases of software and hardware must be made separately (outside of the US).
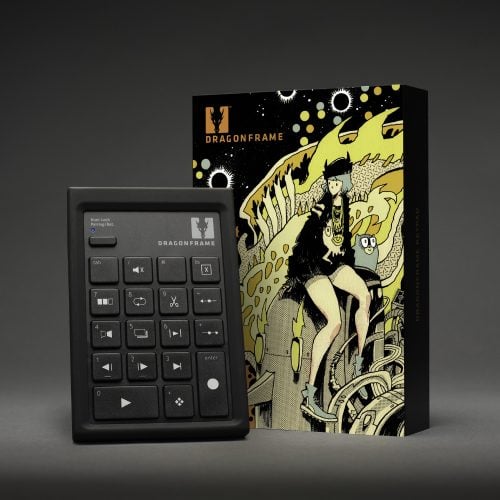
Dragonframe Full Version
The software is always a digital download (even when bundled with the keypad), and the license key is sent as soon as your order is approved.