sony alpha a7r
Supported Versions
Requires Dragonframe 4.3.4 or newer. (5.x, 2024.x, 2025.x are newer).
Live View
The Sony Alpha A7R provides a live view over HDMI. This camera requires a separate connection to the computer, via an HDMI capture device, to access the live view. We do not recommend this setup, because it is complicated and fairly expensive. Please consider a used Canon EOS that we support instead.
Camera Settings
Dragonframe controls the Sony Alpha A7R ISO, shutter speed, aperture (with digital lens), image quality, and size.
Considerations
Dragonframe cannot control focus or provide focus check (live view magnification) with this camera.
This camera does not provide a way to download a recorded movie over USB. You must remove the card to download the movie.
Product Info
You can find the Sony Alpha A7R manual and specifications at the Sony website.
Manual Lens to Avoid Flicker
To avoid any potential flicker that can be caused by electronically controlled aperture lenses, please consider using a fully manual aperture lens.
Learn More about Aperture Flicker
Setup Instructions
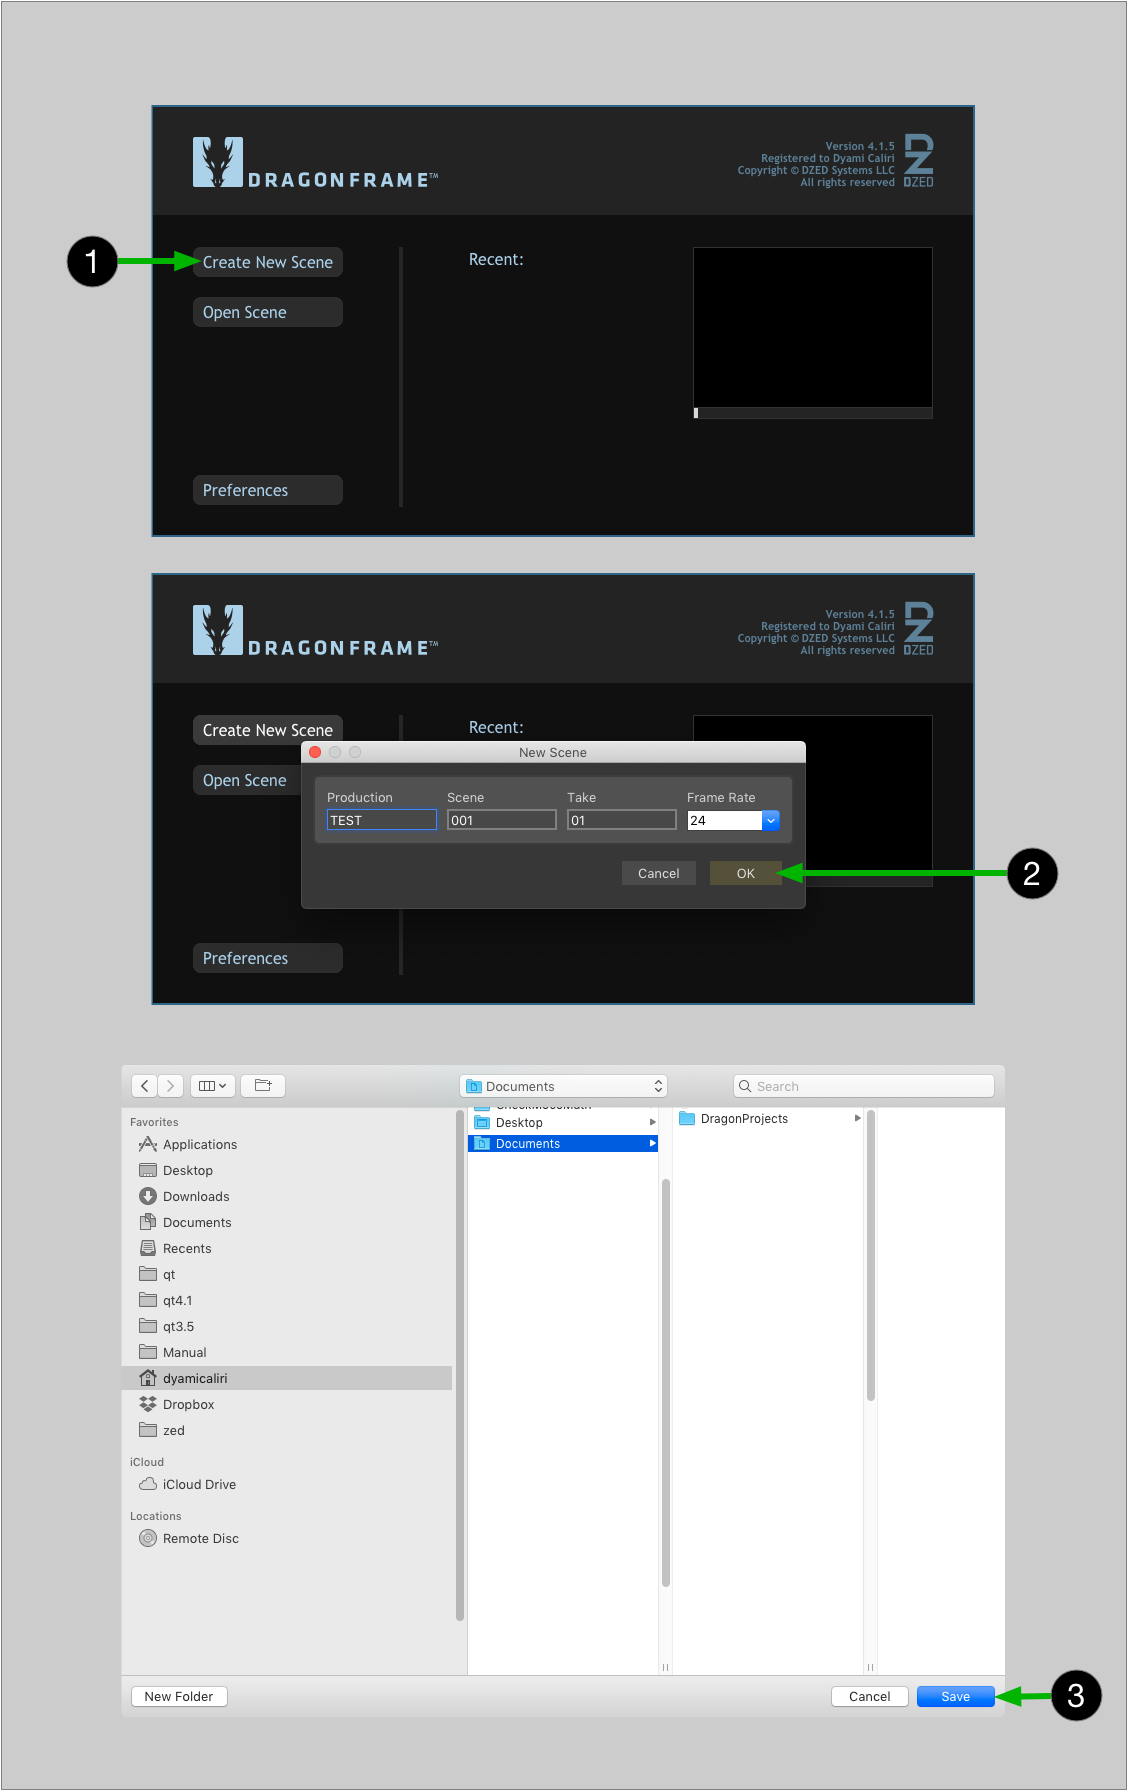
- Create a new scene or open an existing scene. (Dragonframe will not connect to your camera unless you have a scene open.)
- Power your camera by AC power if possible, or use a fully charged battery.
- Close any other applications that might connect to your camera.
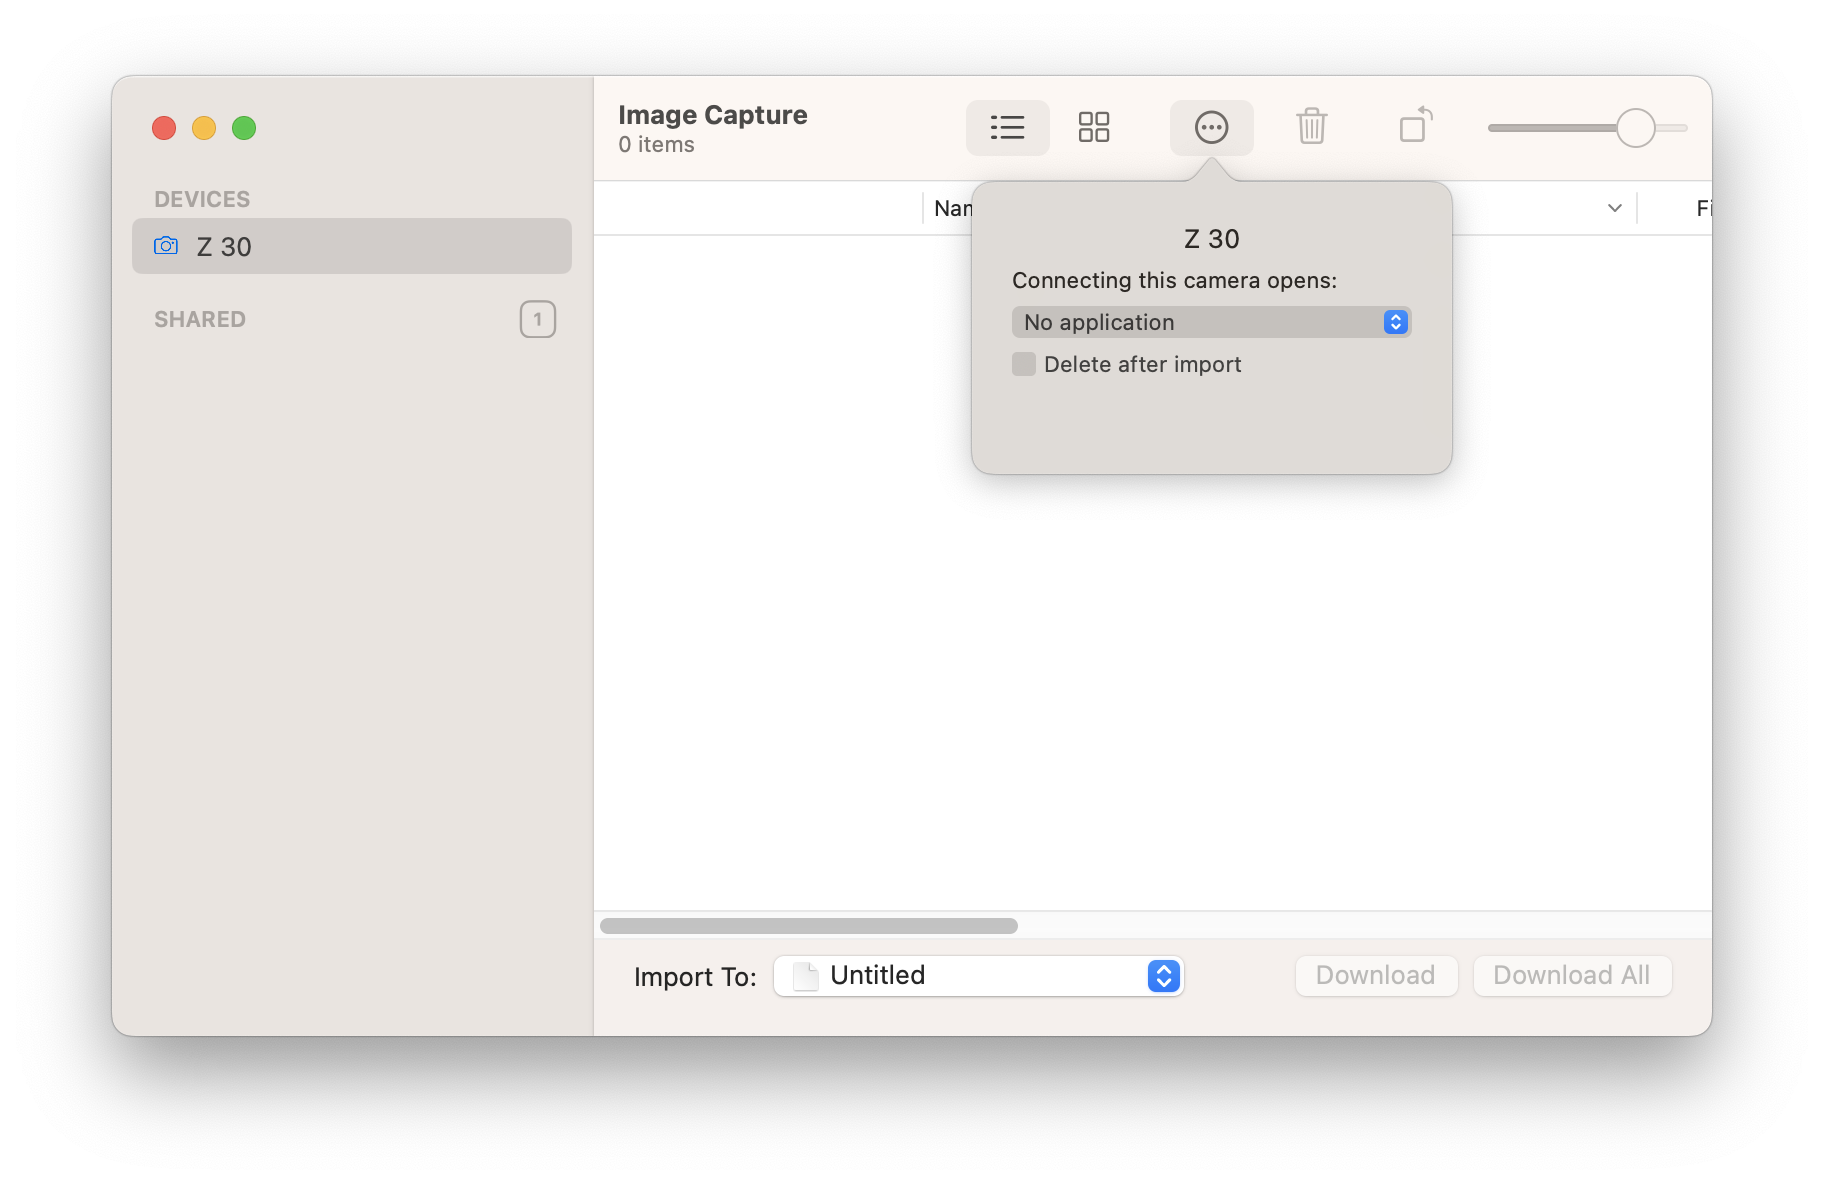
- - For macOS, Open Image Capture, select your camera, then in pop up area in lower-left select Connection camera opens: No application. (See Picture)
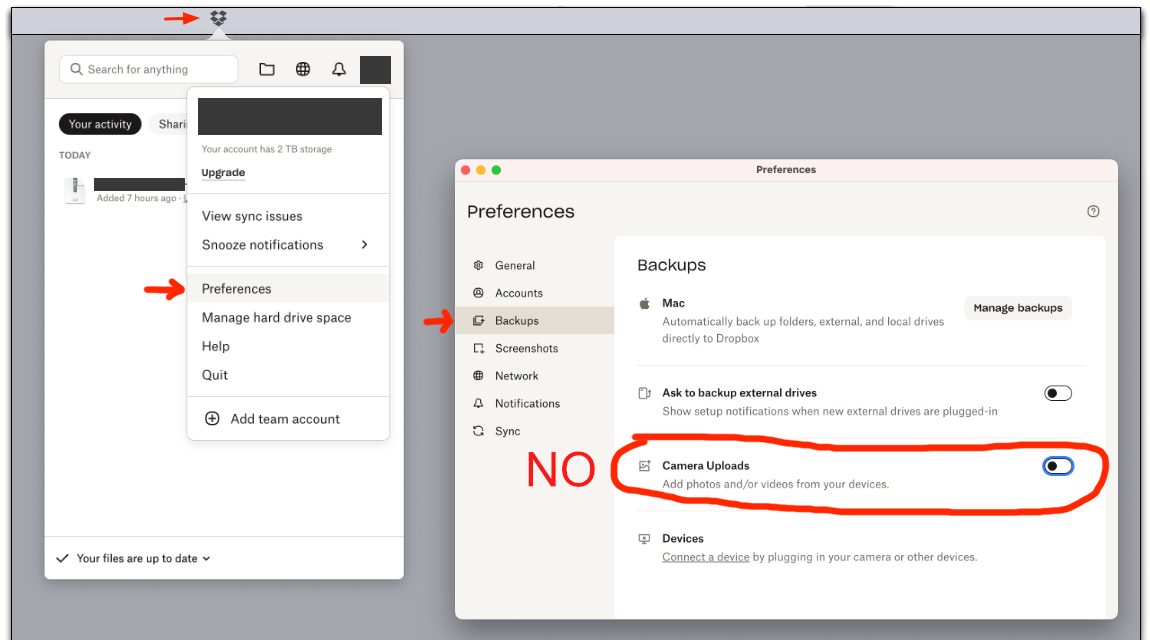
- Make sure Dropbox is not a client of the camera.
- You may need to quit Google Drive, since it can interfere with the camera even if you turn off syncing.
- If you have anti-virus software, white-list Dragonframe so that it may access your camera.
- Set the Mode Dial to Manual (M).

- Set USB Connection to PC Remote.
The camera will not connect unless you do this. - Set Long Exposure NR to OFF. (Unless you want to wait a long time after each shot.)
- Set Live View Display : Setting Effect to ON.
- Set DRO/Auto HDR to OFF.
- Set Auto Review to OFF.
- Connect your camera to the computer with an appropriate USB cable. (Make sure to follow the previous instructions before doing this.)
- Connect your camera's HDMI output to the computer through a compatible HDMI capture device. (Do not connect HDMI directly to the computer!)
- Select the HDMI device as the Video Assist Source in the Capture menu.
- Select your camera as the Capture Source in the Capture menu.
- If you have followed all of these instructions, and the camera does not appear in Dragonframe, but does appear in Sony Imaging Edge, follow the instructions in our FAQ to resolve the issue.
- If you are using macOS 15 or newer, and Dragonframe 2024 or newer, and the camera does not appear, follow the instructions in our FAQ to resolve the issue.
- Proceed to the Cinematography workspace to adjust the camera exposure settings, check focus, and take test shots.