intel-realsense depth camera d435
Intel RealSense Depth Camera D435
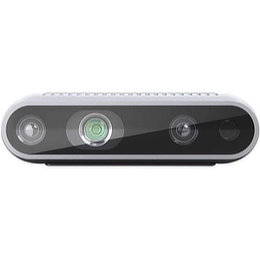
Intel RealSense Depth Camera D435 setup instructions for stop motion animation or time-lapse photography with Dragonframe
Supported Versions
Requires Dragonframe 5.1.5 or newer. (2024.x, 2025.x are newer).
Live View
The Intel RealSense Depth Camera D435 provides a live view via its USB connection. The live view size is 1280 x 720.
Camera Settings
Dragonframe controls many of the settings for this device.
Product Info
You can find the Intel RealSense Depth Camera D435 manual and specifications at the Intel RealSense website.
Setup Instructions
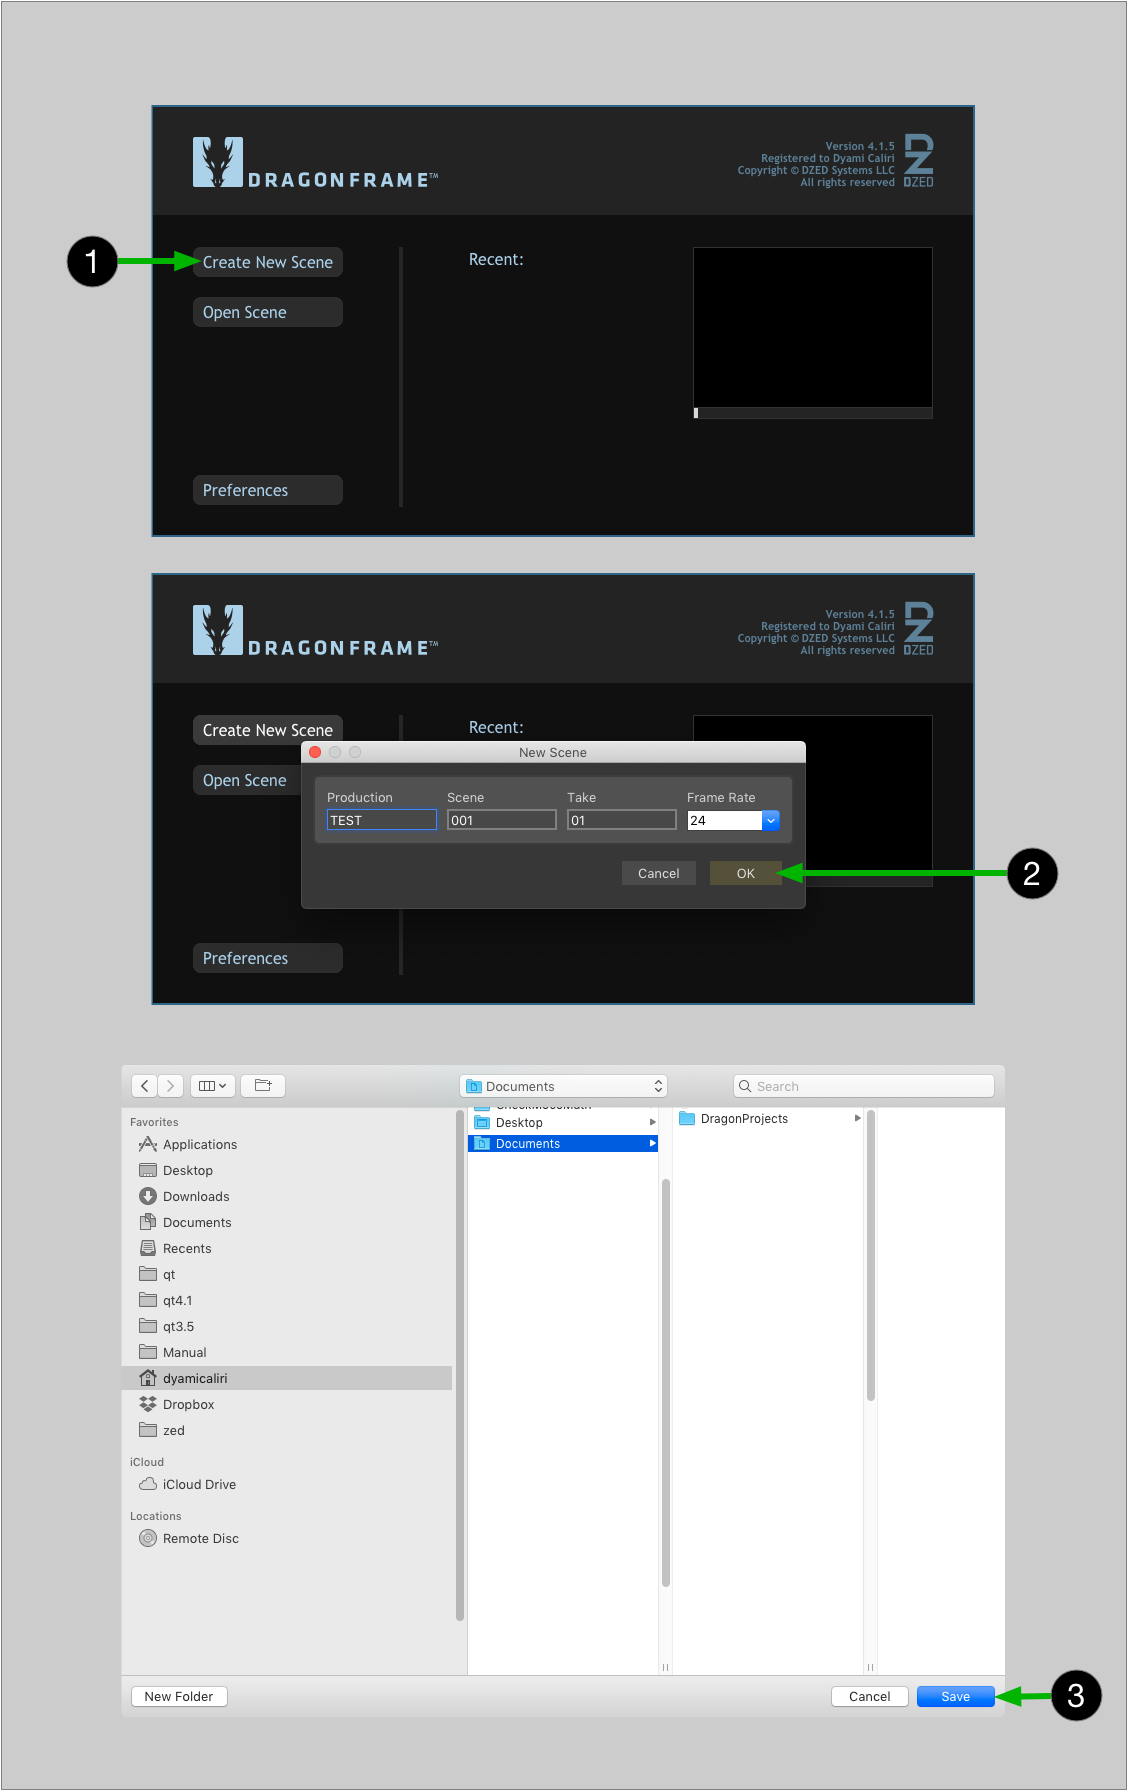
- Create a new scene or open an existing scene. (Dragonframe will not connect to your camera unless you have a scene open.)
- Power your camera by AC power if possible, or use a fully charged battery.
- Close any other applications that might connect to your camera.
- - For macOS, Open Image Capture, select your camera, then in pop up area in lower-left select Connection camera opens: No application. (See Picture)
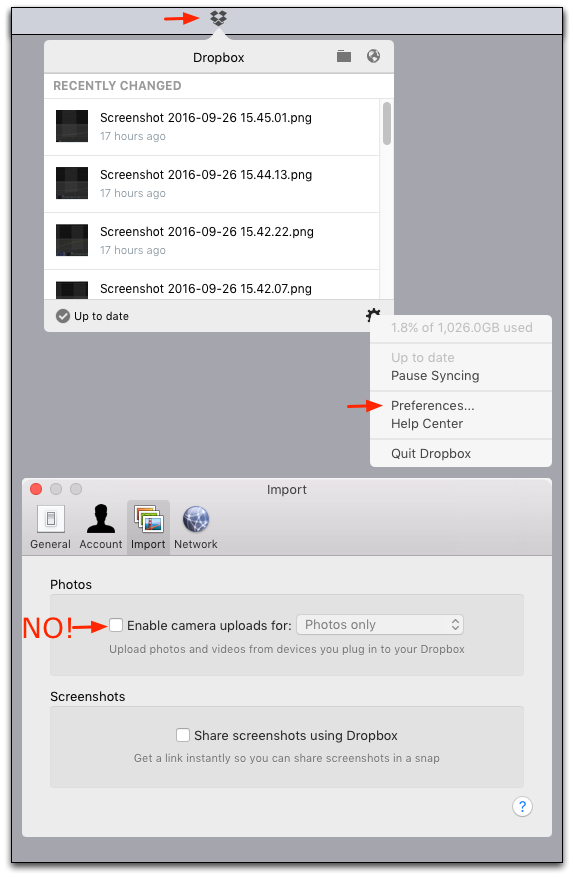
- Make sure Dropbox is not a client of the camera.
- You may need to quit Google Backup and Sync, since it can interfere with the camera even if you turn off syncing.
- If you have anti-virus software, white-list Dragonframe so that it may access your camera.
- In Dragonframe's Preferences | Capture, select Enable RealSense module and restart Dragonframe.
- In the Animation workspace, open the Guide Layers, go to the Scene Layer, and find the Live View Magnification settings. Enable the 'A' position. This will be used to switch to the depth view.
- In the Cinematography workspace, go to the Camera Settings. You will find depth and color settings for the camera (if your camera also supports color).
- If you need to control settings that we don't provide in our UI, you can use the Intel RealSense Viewer application to set up your camera, and save the settings to a JSON file. Then in Camera Settings in Dragonframe, you can specify the JSON SETTINGS FILE.
- Dragonframe captures a color TIFF/JPEG (if the camera has color output) and a PNG with depth values for every frame.
- Connect your camera to the computer with an appropriate USB cable.
- Proceed to the Cinematography workspace to adjust the camera settings, check focus, and take test shots.