canon eos 1ds mark iii
Canon EOS 1Ds Mark III
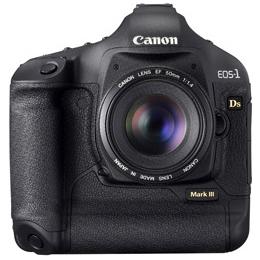
Canon EOS 1Ds Mark III setup instructions for stop motion animation or time-lapse photography with Dragonframe
Supported Versions
Requires Dragonframe 2.3.8 or newer. (3.x, 4.x, 5.x, 2024.x, 2025.x are newer).
Live View
The Canon EOS 1Ds Mark III provides a live view via its USB connection. The live view size is 1024 x 680.
Camera Settings
Dragonframe controls the Canon EOS 1Ds Mark III ISO, shutter speed, aperture (with digital lens), image quality, and size.
Product Info
You can find the Canon EOS 1Ds Mark III manual and specifications at the Canon website.
Manual Lens to Avoid Flicker
To avoid any potential flicker that can be caused by electronically controlled aperture lenses, please consider using a fully manual aperture lens.
Learn More about Aperture Flicker
Setup Instructions
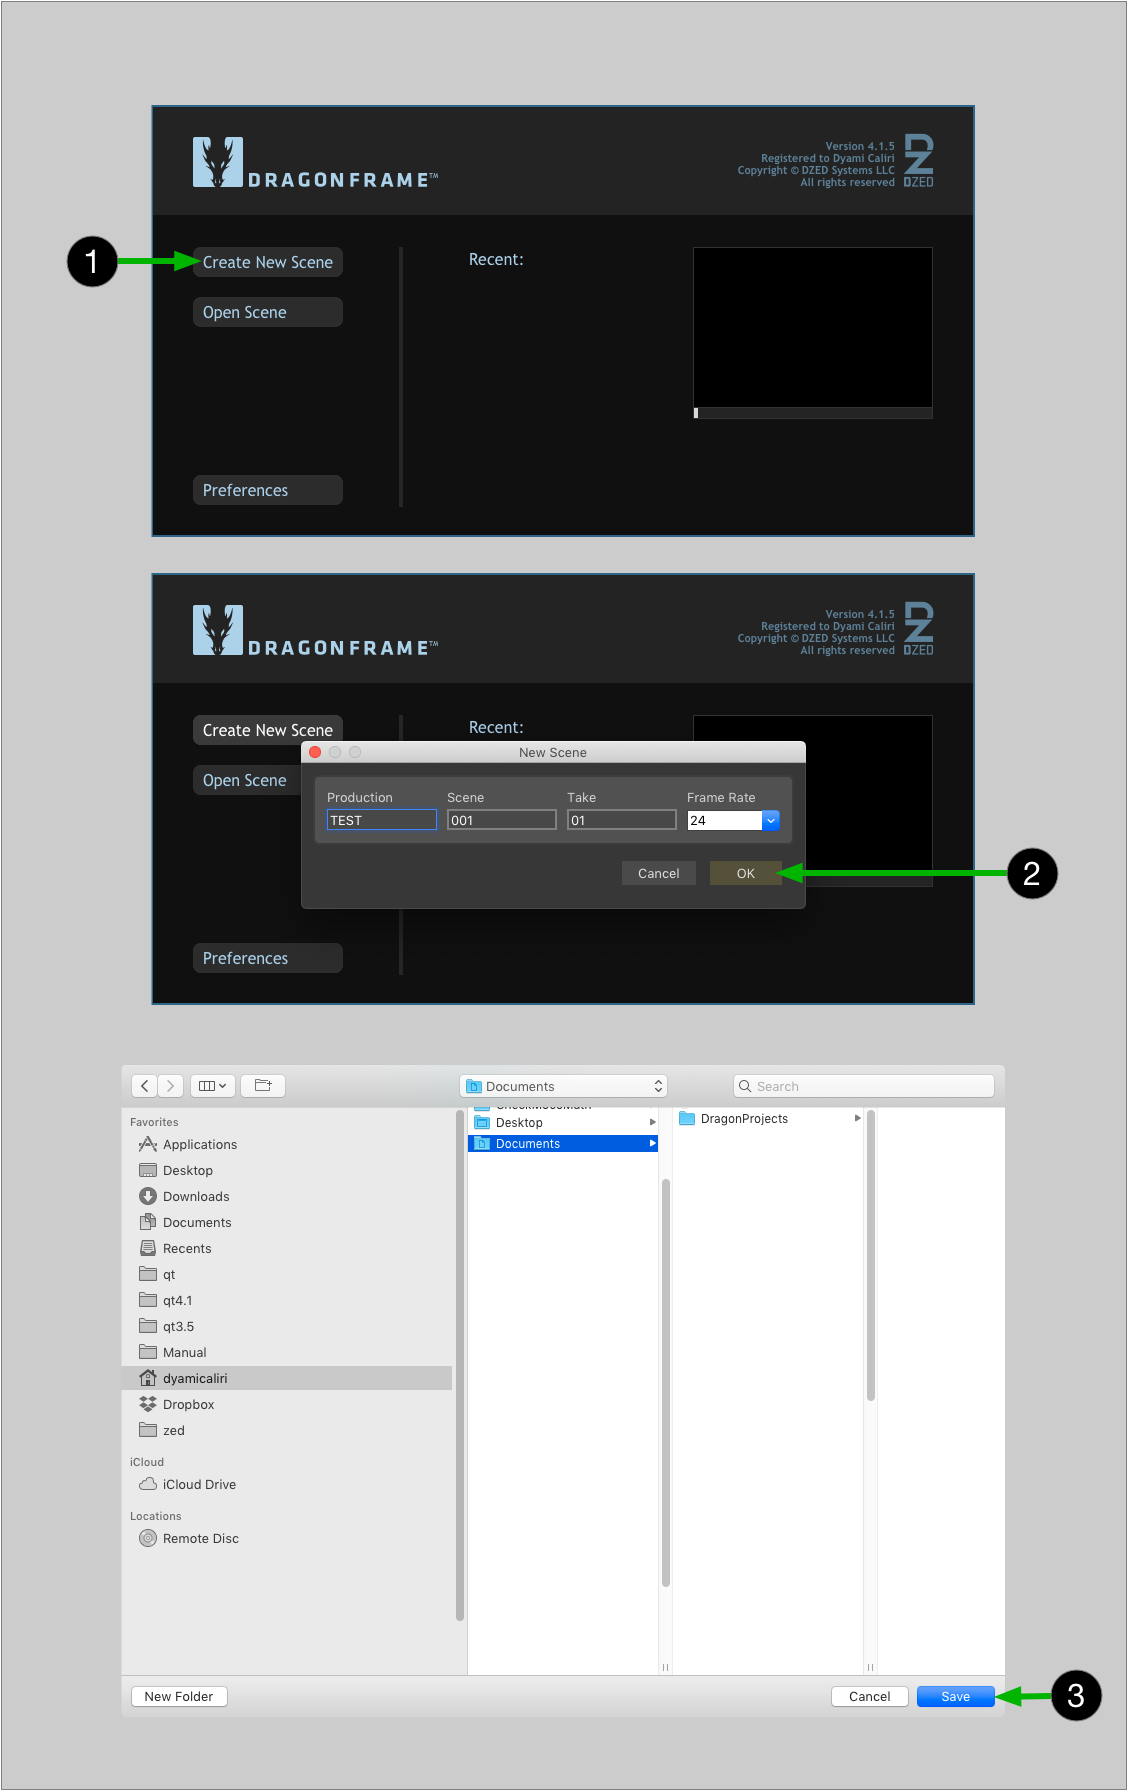
- Create a new scene or open an existing scene. (Dragonframe will not connect to your camera unless you have a scene open.)
- Power your camera by AC power if possible, or use a fully charged battery.
- Close any other applications that might connect to your camera.
- - For macOS, Open Image Capture, select your camera, then in pop up area in lower-left select Connection camera opens: No application. (See Picture)
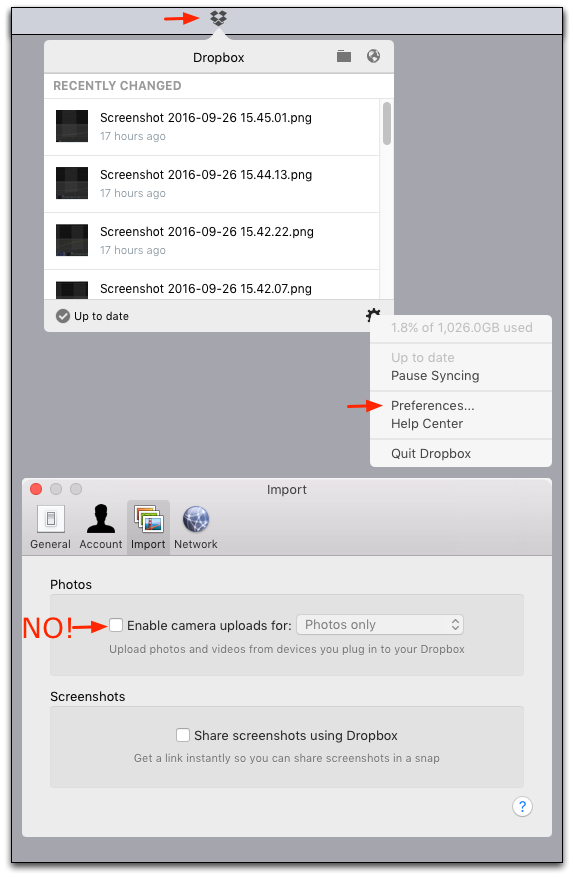
- Make sure Dropbox is not a client of the camera.
- You may need to quit Google Backup and Sync, since it can interfere with the camera even if you turn off syncing.
- If you have anti-virus software, white-list Dragonframe so that it may access your camera.
- Set the Mode Dial to Manual (M).
- Set Auto Power Off to OFF.
- Set Auto rotate to OFF.
- Set Lens to Auto Focus and disable Image Stabilization.
(This step applies to digital lenses. However, we recommend you use a manual aperture lens as described above.) - You may need to remove the CF/SD memory card.
- Set Drive Mode to Single Shooting (not Single Silent).
- Set live view Exposure Simulation to ON.
- Set Release shutter without card to ON or Enable.
- In order to enable Depth of Field Preview in Dragonframe, the depth of field preview function must be assigned to the standard button (on the camera).
- Turn OFF the camera's WiFi connection, if it has one. Otherwise it can interfere with the USB connection.
- Connect your camera to the computer with an appropriate USB cable.
- Proceed to the Cinematography workspace to adjust the camera exposure settings, check focus, and take test shots.